
Tutorial - How to Reknot
- Thread starter Acer89
- Start date

Acer89
James
I've set many knots with a two pence coin insert without any issues
Questions:
Firstly, looking at your pic, even with the coin attached does the knot base hit the bottom of the socket? Can you hear the coin tapping on the base of the socket?
are you mixing both parts of the epoxy together for at least 30 seconds?
Are you using a quality epoxy such as araldite rapid and adding enough? Usually a blob the size of 5p is enough
Are you allowing the knot sufficient time to fully cure?
DeeCee
Dan
Thanks James,I've set many knots with a two pence coin insert without any issues
Questions:
Firstly, looking at your pic, even with the coin attached does the knot base hit the bottom of the socket? Can you hear the coin tapping on the base of the socket?
are you mixing both parts of the epoxy together for at least 30 seconds?
Are you using a quality epoxy such as araldite rapid and adding enough? Usually a blob the size of 5p is enough
Are you allowing the knot sufficient time to fully cure?
Yeah I kept reading the tutorial and making sure I'd done all of those things...... The coin was hitting the base of the socket, but that's the part that has come away both times, so maybe there was something up with it? I'm using the araldite rapid epoxy and mixing for probably a bit more than 30 seconds.
I've now managed to get the coin off the knot, re sanded everything (socket and plug of knot), mixed more epoxy and re set it. Pushed it into the socket firmly, gave it a twist and applied some more pressure. Now it's sat on the side, I keep my fingers crossed!
Thanksre reknotting: using blu tack testing lofts before permanent glue works well
Wayne
Forum Sod
It isn't nearly as daunting as you may imagine. Equipment wise you only need a Dremmel type tool, a couple of drill bits, sanding drums and a Dremmel 115 bit. Most of that usually comes with the dremmel anyway.Very informative, I'm inspired to give this a go. Following ES recent statement about Badger hairs, I'm thinking about reknotting my badgers with synthetic. I have zero equipment but I might order some and give it a go on one of my least favourite handles.
Stonec0ld
Forum GOD!
Yeah I'm about halfway through now. Drilled out 3 knots and the replacements arrived this week. Just need time to do it.It isn't nearly as daunting as you may imagine. Equipment wise you only need a Dremmel type tool, a couple of drill bits, sanding drums and a Dremmel 115 bit. Most of that usually comes with the dremmel anyway.
Wayne
Forum Sod
Nice one.Yeah I'm about halfway through now. Drilled out 3 knots and the replacements arrived this week. Just need time to do it.
DeeCee
Dan
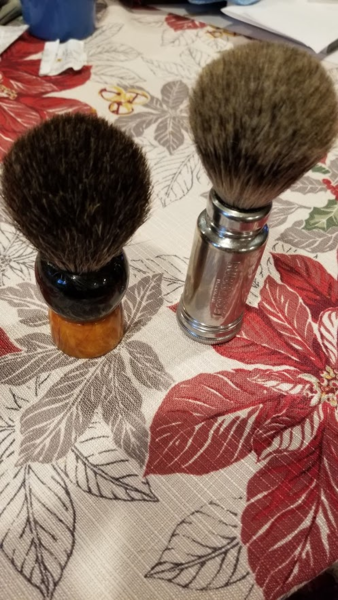
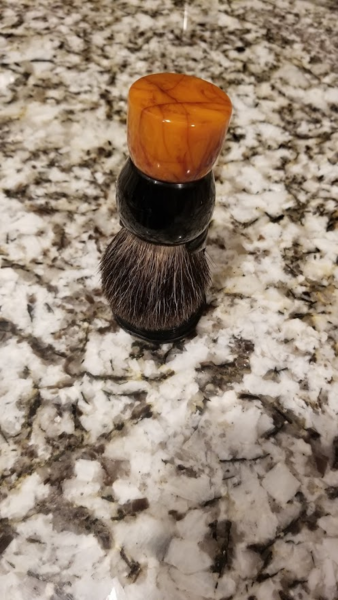
Used the Shavemac Molten Metal with 24mm Oumo Mother Lode today.... First impressions weren't great  Love the handle, it is stunning, and the knot goes really well with it. However the knot is VERY floppy and holds A LOT of water! Couldn't get as good a lather as normal, and the knot didn't really seem to apply the lather that well onto my face
Love the handle, it is stunning, and the knot goes really well with it. However the knot is VERY floppy and holds A LOT of water! Couldn't get as good a lather as normal, and the knot didn't really seem to apply the lather that well onto my facePattorashu
Senior Moment
Some great info. I've had luck pressing knots in a vise and drilling, never been tempted to steam a brush even with the success stories.
I did find out my limits when I left the speed on the drill press too high and the forstner bit caught and blew the side of a meaningful brush I had out.
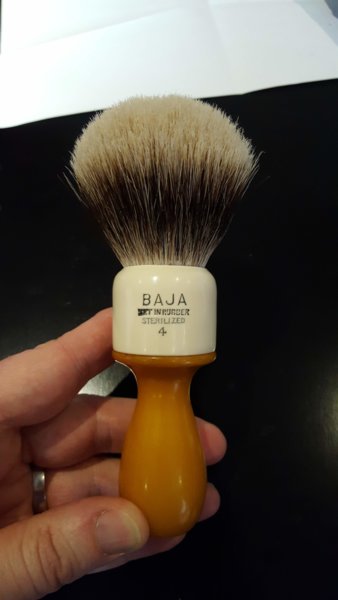
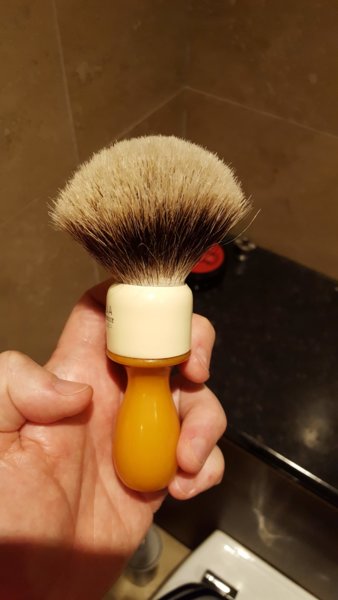
My latest re-knots:
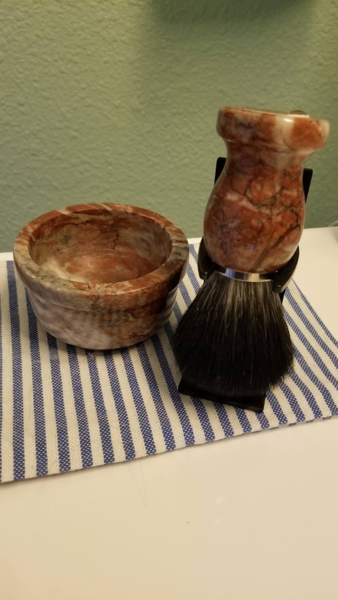
I did find out my limits when I left the speed on the drill press too high and the forstner bit caught and blew the side of a meaningful brush I had out.
My latest re-knots:
Stonec0ld
Forum GOD!
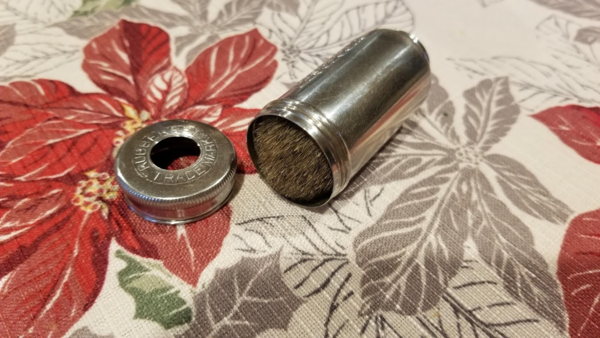
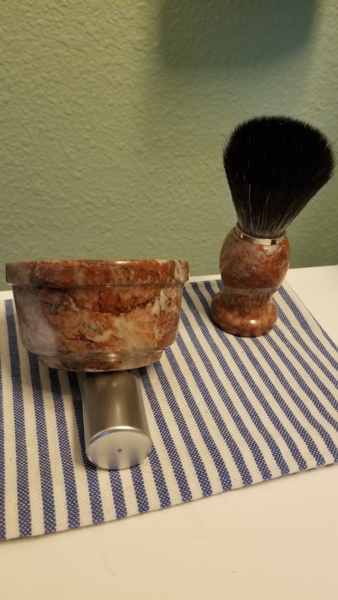
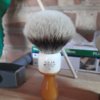
Finally my knot arrived all the way from China so in it went. I'm pretty happy with the result!
Attachments
-
 29.8 KB Views: 165
 -
 40.1 KB Views: 167
 -
 47.5 KB Views: 155
Boycie83
Space Cadet
Dare I ask what the mallet was used for?Finally my knot arrived all the way from China so in it went. I'm pretty happy with the result!
View attachment 67463View attachment 67464